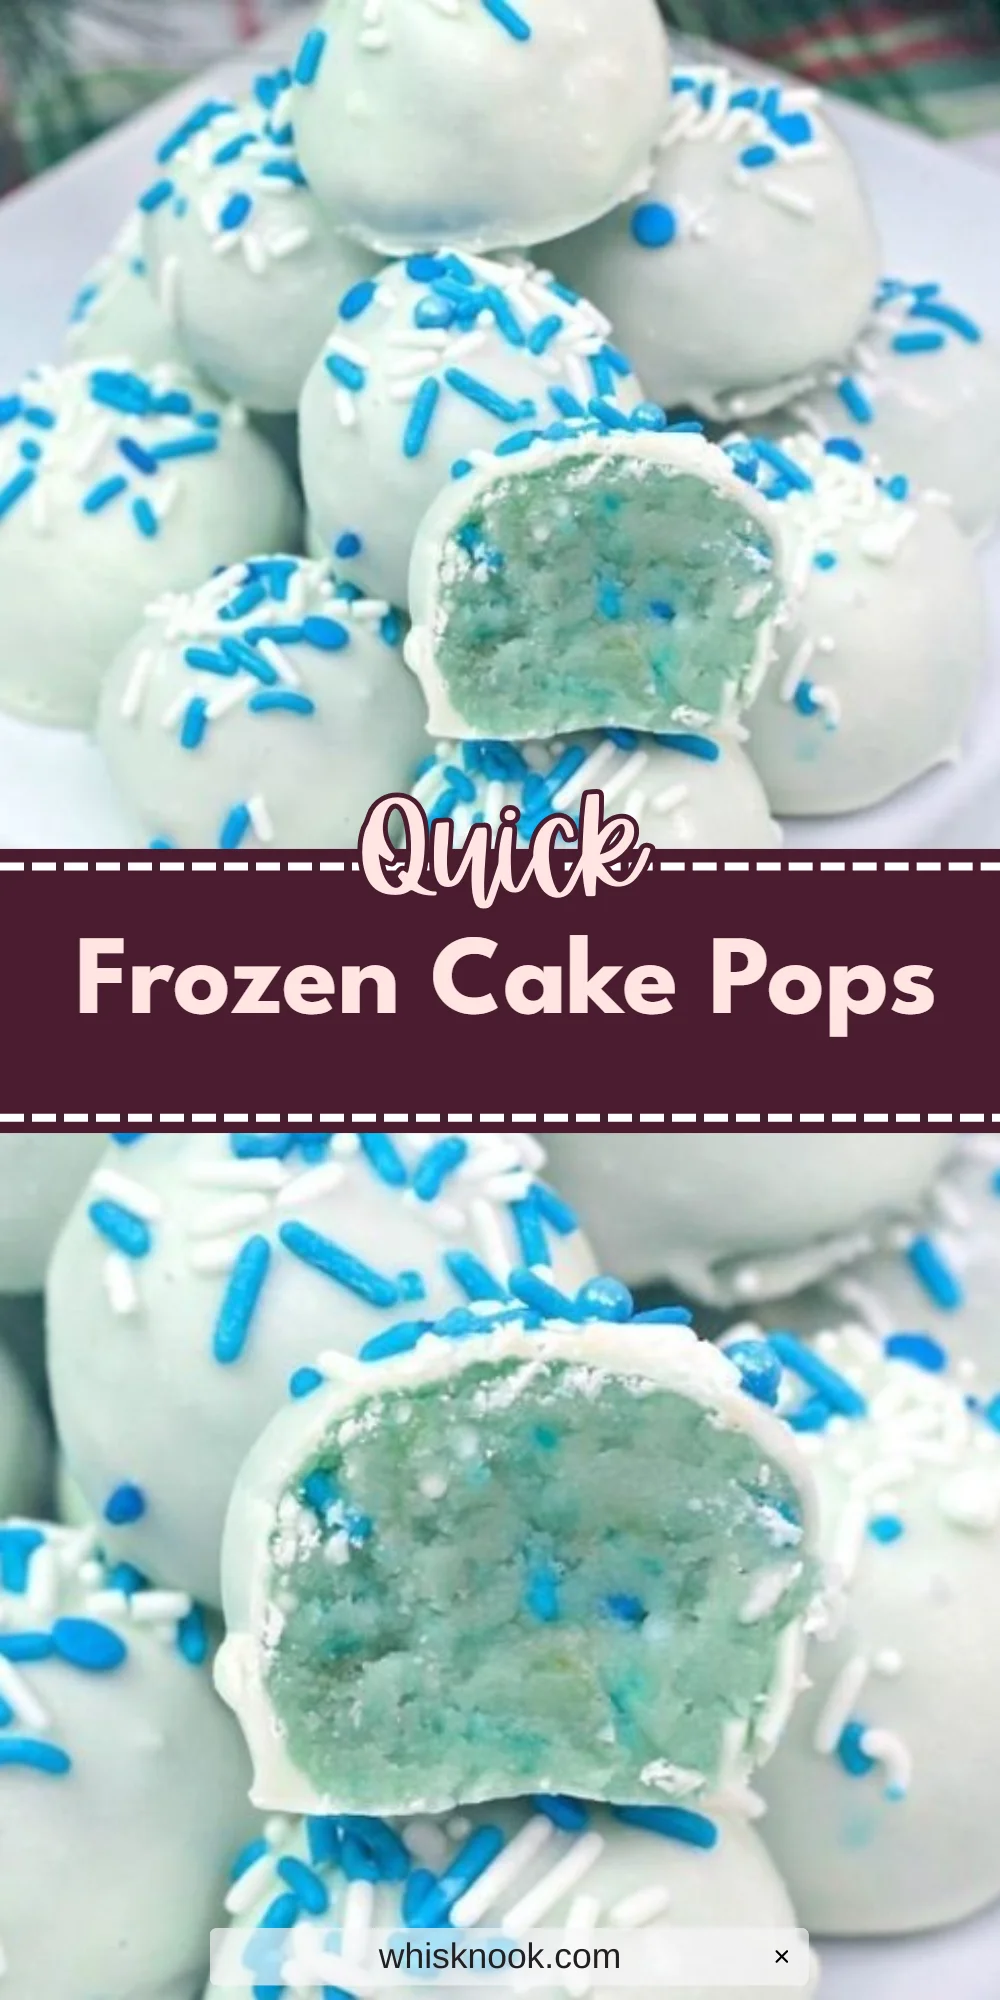
The delightful aroma of freshly baked cake wafts through your kitchen, filling it with warmth and sweetness. As you transform this simple cake into eye-catching Frozen Cake Pops, it’s hard not to smile at the thought of indulging in these little bites of fun. This recipe takes about an hour of preparation and cooling time, plus a little patience while they set, but the result is well worth the wait—colorful cake pops that not only look great but are also incredibly delicious.
This recipe is perfect for birthday parties, festive celebrations, or even a fun weekend activity with the kids. You can prepare the cake pops ahead of time and store them in the fridge or freezer for an easy treat whenever a craving strikes.
Why You’ll Love This Recipe
- They are incredibly versatile since you can use any flavor of cake mix.
- The cake pops are a fun project to create with family or friends.
- You can customize the decorations to fit any occasion or theme.
- They store well, making them perfect for snacks throughout the week.
What You’ll Need
Here’s everything you need to create these fun Frozen Cake Pops.
For the Cake
- 1 box cake mix (any flavor)
- 1 cup frosting
For the Coating
- Candy melts (blue, white, and other colors for decorating)
For Assembling
- Lollipop sticks
- Sprinkles (optional)
- Edible glitter (optional)
Use any flavor of cake mix for variety.
Substitutions & Swaps
- Use homemade cake for a fresher taste.
- Substitute frosting with cream cheese for a tangy twist.
- Choose chocolate or yogurt melts instead of candy melts.
- Any type of stick can work if lollipop sticks are unavailable.
How to Make It
Start creating your cake pops with these straightforward steps.
1. Bake
Bake the cake according to package instructions and let it cool completely.
2. Crumble
Crumble the cooled cake into a large bowl.
3. Mix
Add the frosting to the crumbled cake and mix until well combined.
4. Roll
Roll the mixture into small balls and place them on a baking sheet lined with parchment paper.
5. Freeze
Freeze the cake balls for about 30 minutes to help them firm up.
6. Melt
Melt the candy melts in a microwave-safe bowl according to package instructions until smooth.
7. Dip
Dip the lollipop sticks into the melted candy and then insert them into the cake balls carefully.
8. Coat
Dip the cake pops into the melted candy and let the excess drip off.
9. Decorate
Decorate with sprinkles or edible glitter if desired for a festive touch.
10. Set
Let them set on a baking sheet until the candy coating hardens fully.
How to Store It
Fridge: Store in an airtight container for up to 1 week.
Freezer: Yes, they freeze well for long-term storage.
Reheat: Not applicable; enjoy frozen or chilled.
Tips for Best Results
- Ensure the cake is completely cool before crumbling to prevent melting the frosting.
- Use a small cookie scoop for uniform cake pops.
- Don’t rush the freezing step; it’s crucial for proper dipping and sticking.
- Experiment with different candy melt colors for creative designs.
Serving Suggestions
- Serve them at birthday parties or festive gatherings.
- Pair them with a glass of milk or hot chocolate for a delightful treat.
- Use them as a fun topping for ice cream sundaes.