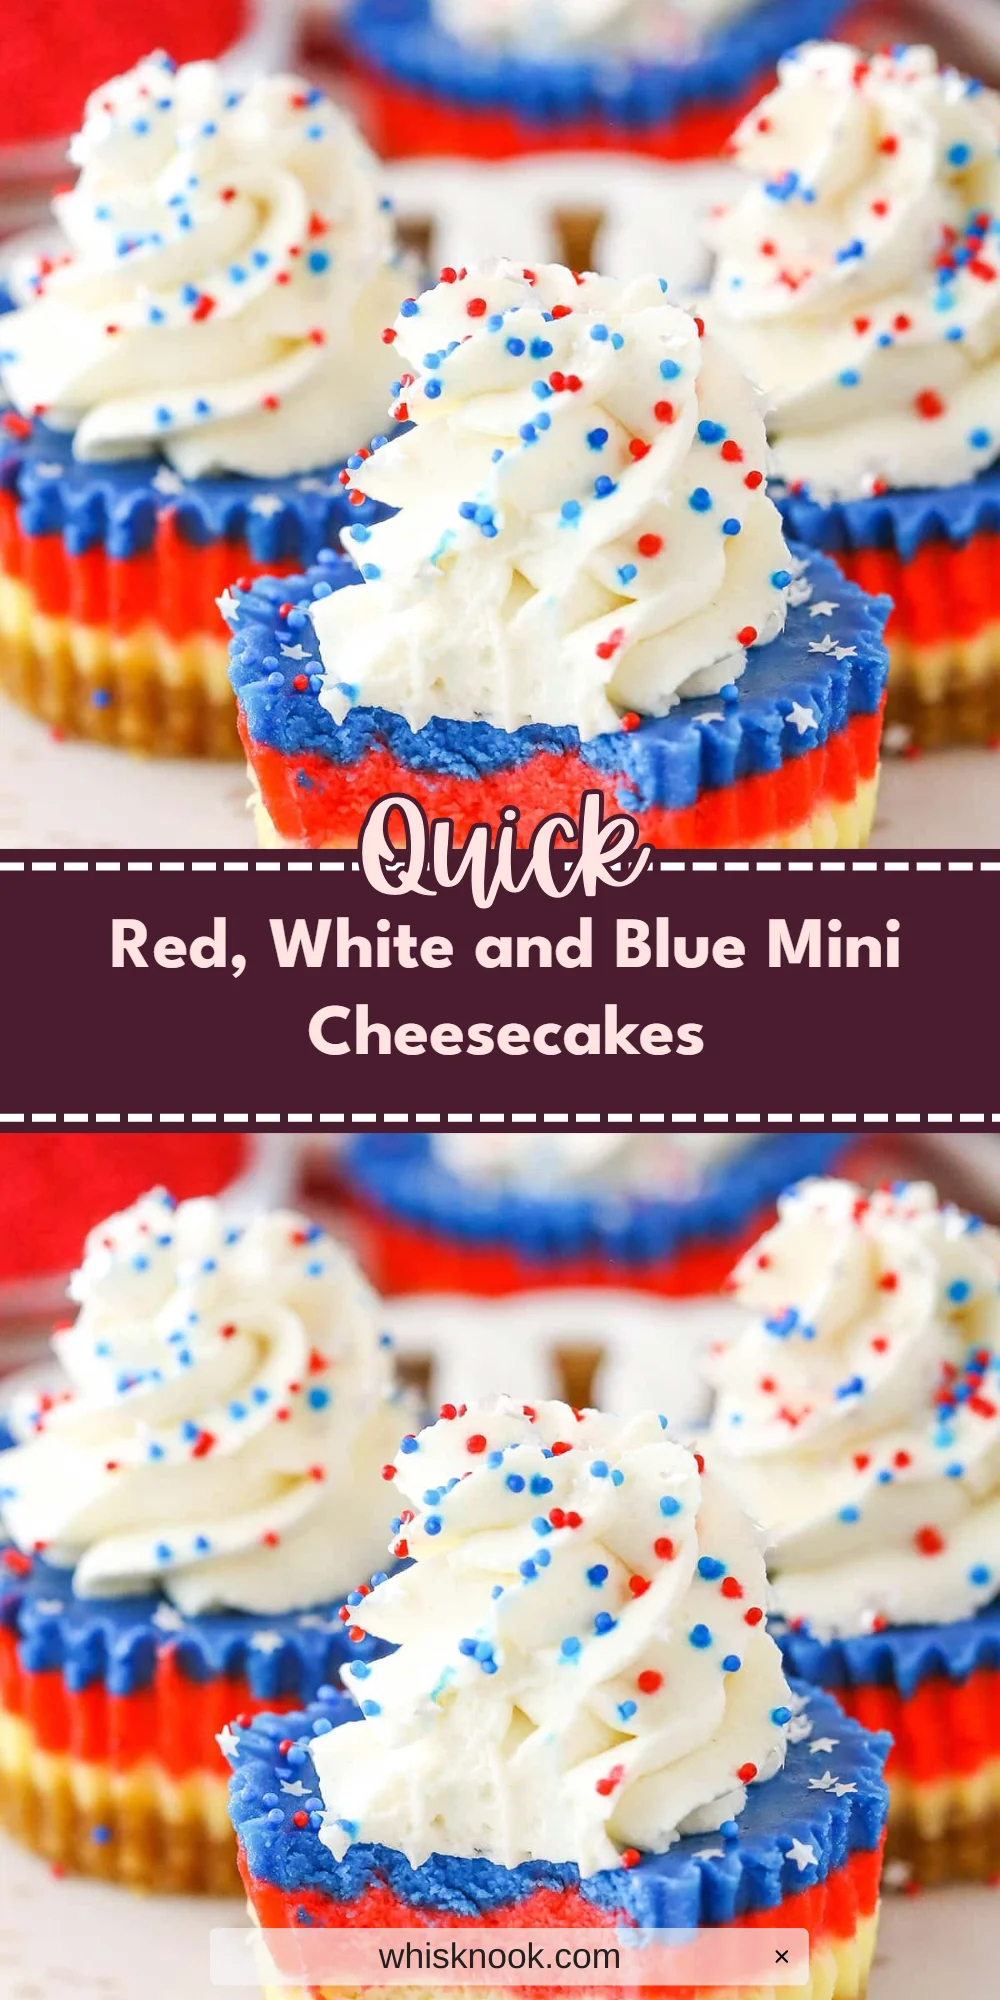
The day your dessert steals the show is one you won’t forget. Red, White and Blue Mini Cheesecakes are not just visually stunning; they also combine creamy textures and refreshing flavors, making them perfect for summer gatherings. In about an hour and a half, you can whip up this delightful treat that everyone’s going to love.
This recipe is perfect for celebrations, such as Independence Day, birthdays, or any festive occasion where you want to impress family and friends. These mini cheesecakes can also be made ahead of time and stored in the fridge, allowing for hassle-free entertaining.
Why You’ll Love This Recipe
- These mini cheesecakes are layered with vibrant colors that bring joy to any celebration.
- The smooth and creamy filling contrasts beautifully with a crunchy cookie crust.
- They can be prepared in advance, making your event planning easier.
- The addition of whipped cream and sprinkles elevates their festive appeal.
What You’ll Need
Here’s everything you’ll need to make these delightful mini cheesecakes.
For the Crust
- 1 cup (134g) vanilla wafer cookie crumbs
- 2 tbsp (26g) sugar
- 4 tbsp (56g) butter, melted
For the Filling
- 12 ounces (339g) cream cheese, room temperature
- 1/2 cup (104g) sugar
- 3 tbsp (24g) flour
- 1/2 cup (115g) sour cream
- 1 1/2 tsp vanilla extract
- 2 eggs
- Blue gel icing color
- Red gel icing color
For the Topping
- 1/2 cup (120ml) heavy whipping cream, cold
- 5 tbsp (36g) powdered sugar
- 1/2 tsp vanilla extract
- Sprinkles
Note: Gel icing colors provide vibrant hues without altering flavor.
Substitutions & Swaps
- Use graham cracker crumbs for the crust.
- Substitute Greek yogurt for sour cream.
- Any flavor of gel icing color can be used.
- Heavy cream can be swapped with a store-bought whipped topping.
How to Make It
Let’s dive into the steps for creating these stunning mini cheesecakes.
-
Preheat oven
Preheat your oven to 325°F (162°C). Add cupcake liners to a cupcake pan. -
Combine crust ingredients
In a bowl, mix together the vanilla wafer cookie crumbs, sugar, and melted butter. Divide the mixture between the cupcake liners (about 2 tablespoons per cup) and press into the bottoms.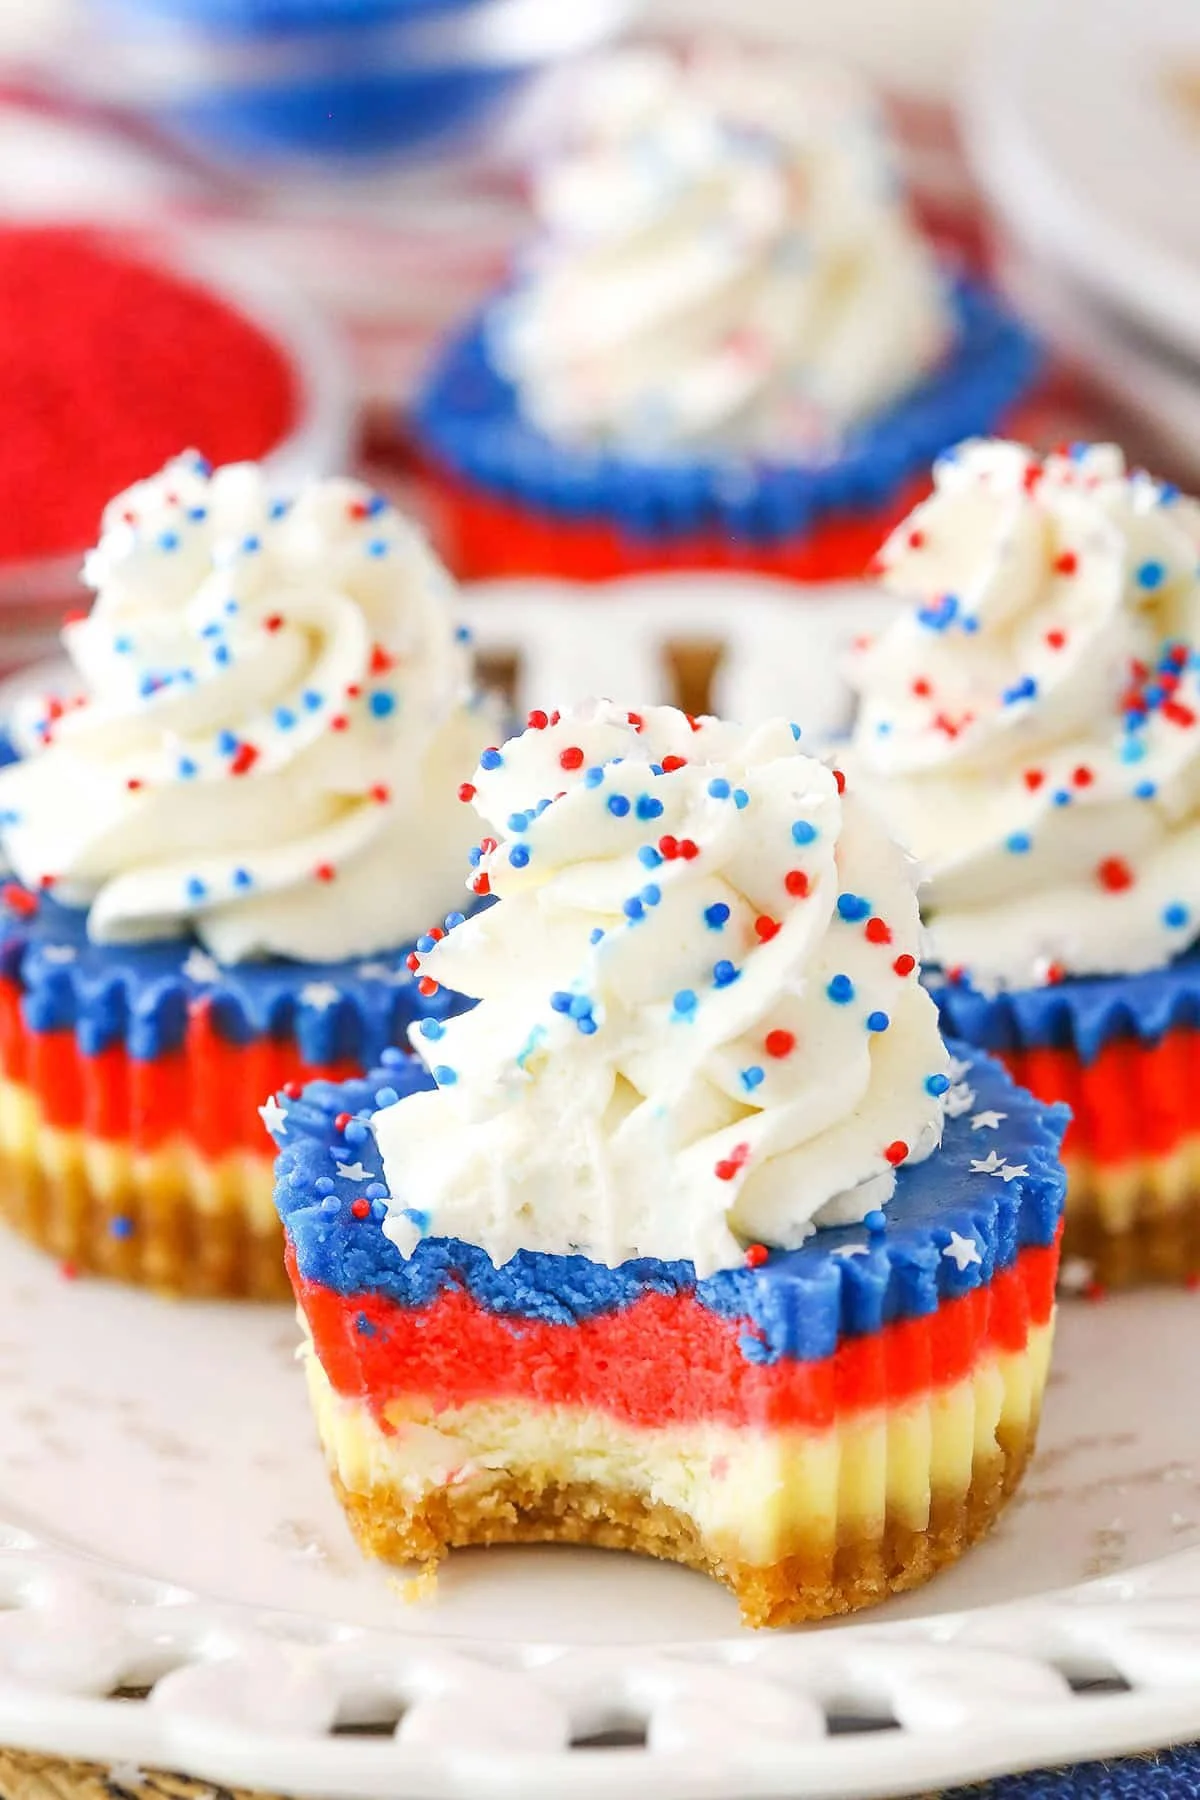
-
Bake crusts
Bake the crusts for 5 minutes then remove from the oven. Allow to cool while you make the filling. -
Reduce oven temperature
Reduce the oven temperature to 300°F (148°C). -
Mix filling ingredients
In a large bowl, mix the cream cheese, sugar, and flour until combined (Use low speed to keep less air from getting into the batter, which can cause cracks). Scrape down the sides of the bowl. -
Add sour cream and vanilla
Add the sour cream and vanilla extract, beating on low speed until well combined. -
Incorporate eggs
Add the eggs one at a time, beating slowly and scraping the sides of the bowl after each addition. -
Color the batter
Divide the batter evenly into three bowls. Leave one as is and color one red and the other blue. -
Layer the batter
Layer the colored batter into the crusts, starting with a tablespoon of white batter in each cup, then a tablespoon of red, and finally a tablespoon of blue. The cups should be mostly full. -
Bake cheesecakes
Bake the cheesecakes for 18-20 minutes, then turn off the oven and leave the door closed for another 10 minutes. -
Cool in oven
Crack the oven door and allow the cheesecakes to cool for 15-20 minutes, then put them in the fridge to finish cooling. -
Remove from pan
When the cheesecakes are cooled, carefully remove them from the pan. -
Make whipped cream topping
In a large mixer bowl, add the heavy whipping cream, powdered sugar, and vanilla extract. Whip on high speed until stiff peaks form. -
Top and decorate
Pipe the whipped cream onto the tops of the cheesecakes and add sprinkles. -
Refrigerate until serving
Refrigerate the cheesecakes in an airtight container until ready to serve. Cheesecakes are best enjoyed within 2-3 days.
How to Store It
Fridge: Store for up to 2-3 days in an airtight container.
Freezer: No, cream-based desserts do not freeze well.
Reheat: Enjoy chilled; do not reheat.
Tips for Best Results
- Ensure cream cheese is fully softened to prevent lumps.
- Avoid overbeating after adding eggs to reduce cracking.
- Layer the batters quickly for clean lines.
- Chill completely before topping to maintain integrity.
Serving Suggestions
- Serve at summer barbecues or picnics.
- Pair with fresh berries for added flavor.
- Perfect as a festive dessert for holidays and celebrations.